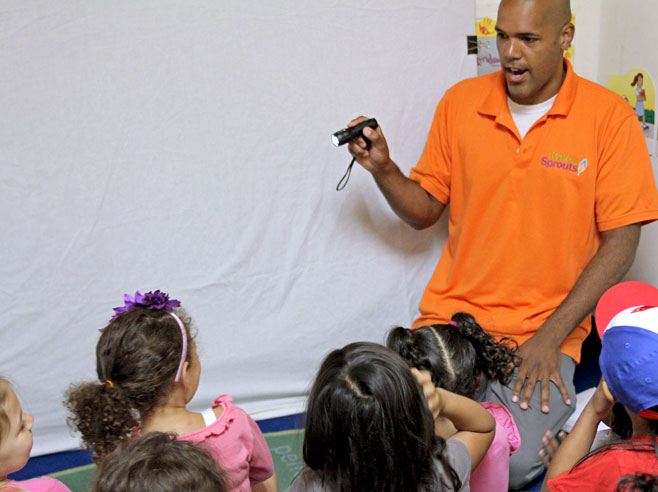
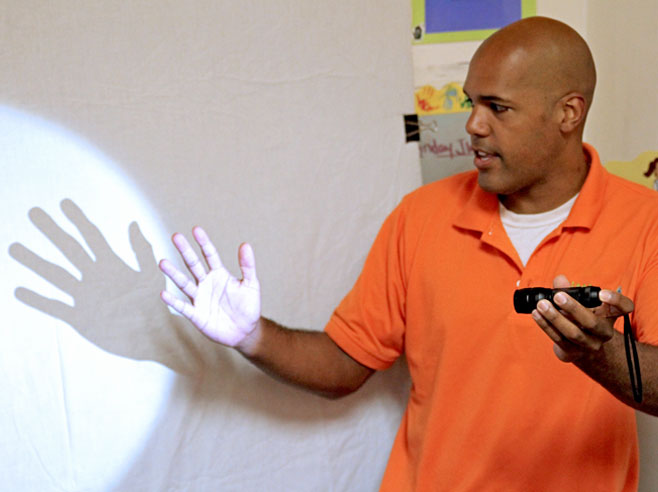
Using a flashlight as a light source, children locate and discuss their own hand shadows.
Darken the room and turn on a flashlight.
What do you see?
Materials
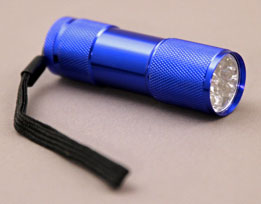
- A flashlight
Preparation
- Hold your Circle Time shadow-making activities in an area of the room that can be darkened. Make sure the area has a flat surface. Explore ways to darken the room.
- Try out the shadow-making activity below.
Directions: Lesson 1
Circle Time: Introduction
- Introduce shadows. Tell children that in the next few weeks, they will use darkened places in the room to learn about shadows. Ask children for ideas on darkening the room, How can we make the room darker? Follow the children’s suggestions as they respond to each other’s ideas and add to them. For example, they may suggest turning off the lights or closing the curtains.
- Turn on the flashlight and invite a child to put his or her hands between the light and the surface. Then have the child wiggle his or her fingers. Encourage children to observe the light and shadows. Discussion ideas:
- Point to the shadows. What do you see? If needed, supply the word shadows. Have several other children wiggle their fingers in the light, noticing the shadows this makes.
- What is making these shadows? How do you know? Describe the shadows that your hands are making. Give all the children a chance to place their hands in the light and describe the shadows they see.
- Explore how a shadow is made. Ask several children whose hands are not in the light whether they can see the shadow of their hand. If they see a shadow, ask: What is making the shadow? If they do not, ask: What do you think you need to do to see a shadow of your hand appear on a surface?
- Explain that a shadow is made when light shines on an object, like your hand, which blocks some of the light. The light cannot shine through your hand, so a dark area that is the shape of your hand appears on the surface. That dark area is called a shadow.
- What do you think happens to the shadow if you move the object out of the light?
- Ask children to help you make the room light again. Explore different light sources.
- Tell children that things that give off light are called light sources.
- What are some light sources that make this room light? Help children identify the light sources. Follow their suggestions for brightening the room. The overhead lights give light—turn on the light switch! Sunlight/daylight coming in through the window gives light—open the shades!
