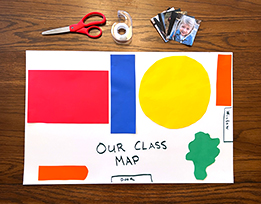
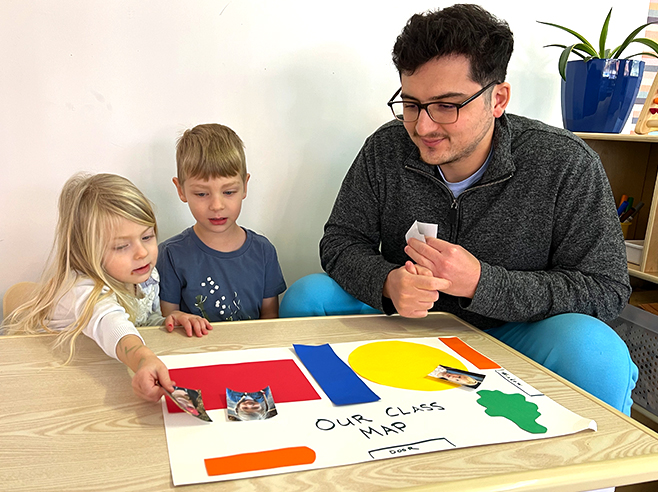
Add pictures of children to the classroom map.
Materials

- The big classroom map you created during Circle Time (preferably laminated)
- Face label for each child (small enough to fit on the map) or a small name label–whatever is easiest
- Clear packing tape (optional)
- Scissors
Preparation
- Make a face label for each child (approx. 1 inch). You can use copies of school photos or take a picture and print each child’s photo. You can also use small name labels instead.
- Cut out the photos and laminate or cover them with clear packing tape so they will not rip. The photos will be attached to the classroom map during the activity.
Directions
- Review the landmarks on the classroom map, encouraging children to use spatial language.
- Tell children you’re going to add each of them to the map! Tape each face or name label near a different landmark on the map. Point to one picture and ask that child:
- Where are you on the map? Describe your location. What landmark are you near?
- Now that you know where you are on the map, can you find that same landmark in the real classroom? Show us!
- As the child heads to the landmark, ask the rest of the group:
- Where’s Jasmine on the map? Did she find the same place in the real classroom? How do you know she’s in the right place?
- Then do the same with the other children: discuss their location on the map, have them find that location in the classroom, and have the group check that the child’s location corresponds to the map.
