Identify classroom landmarks and create a large map.
Materials

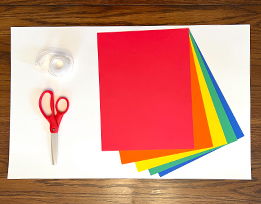
- Poster or chart paper, or a white board (to create a large background for your map)
- Colored construction paper (to create cut-outs of landmarks for your map)
- Scissors
- Tape
- A way to laminate your map (optional)
Preparation
- You’ll be creating a big map of the classroom that you’ll use again with the three other activities (Little Classroom Maps, Friends on the Map, To the Rescue!)
- Creating the big map will take a bit of advance preparation, but keep in mind that you’ll be using the map for several activities.
- Decide whether to create your big map on poster or chart paper, or on a white board.
- Decide on five or six landmarks that represent important places in the classroom, such as a circle rug, tables with chairs, reading nook, block area, art center, or cubbies. Include just a few major landmarks. Keeping the map simple will make it easier for children to understand.
- Use colored construction paper to create the landmarks, using simple shapes: circles, rectangles, and squares. Cut them out. You’ll be taping these on the map.
- Test out the map ahead of time by arranging the landmarks on it. Make sure your map isn’t overcrowded or too empty. Decide whether to remove or to add some landmarks.
- Keep in mind that in the next activity, Little Classroom Maps, you’ll be offering children miniature landmark cutouts so they can assemble their own classroom maps.
- Prepare the outline of the map by drawing where the door and the windows appear in the classroom (for example, the door may be on one side of the classroom and windows along the opposite wall).
- When you’re done with the activity, you might find a way to laminate your large map (using packing tape, plastic wrap, self-adhesive sheets, or other method), but this is optional. If you’re using a white board as the background for your map, keep markers/erasers away from the board so your map isn’t drawn on or erased by mistake.
Directions
- Remind them that a map is a smaller picture of a real place, like their classroom. Tell children you are now going to make a map of their classroom!
- Show children the map outline and ask them to point to where the door and windows are on the map. Have them compare them to the location of the real door and windows. You might ask questions like these:
- On the map, there are three windows next to one another on the map along this wall. In the classroom, are the windows next to each other?
- On the map, the door is on the other side of the classroom from the windows. In the classroom, is the real door in the same position, on the other side of the classroom?
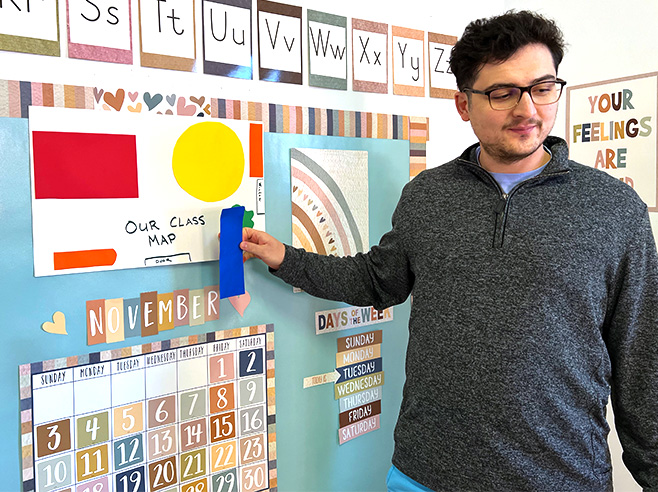
- Introduce the landmark cutouts.
- Point out a real classroom object (e.g., the rug they are sitting on) and then show children the cutout of that object (e.g., circle). Say: The rug is an important landmark in our classroom. We use it all the time — in fact, we’re using it right now! It belongs on our map.
- Discuss where the rug should be placed on the map.
- When you’ve agreed on the location, tape the rug landmark on the map.
- Continue to add the other landmarks to the map in the same way.
- Use spatial language as you discuss where landmarks are located in the room. Encourage children to do the same. Ask, for example, Is the table near to or far from the rug?
- Point out that the landmarks on the map don’t look exactly like the real objects in the classroom, but you can still tell what they are by their shape: the rug is a circle, the table is a rectangle.
- When you’re finished adding the landmarks, review the map you’ve created by pointing to a landmark and asking children to identify the landmark in the classroom. You might also ask about the position of landmarks in relation to each other to practice using and understanding spatial language. For example, ask: When we look at the map, what is next to the rug? Is it also next to the rug in our classroom? Finally, ask a volunteer to explain how a map is a smaller picture of something in the real world.
