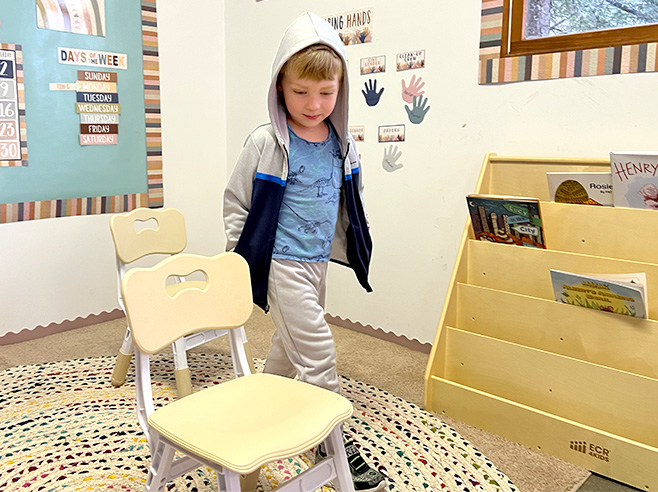
Children use a map to follow an obstacle course.
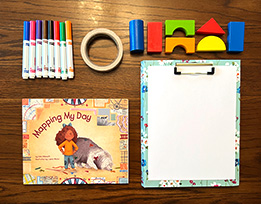
Materials

- Mapping My Day by Julie Dillemuth
- Objects to create an obstacle course (chairs, blocks, table, etc.)
- Paper to draw a map of the obstacle course
- Clipboard
- Colored tape to mark the start (a star) and the finish line (an X) on the floor. You can also make start and stop signs and tape them to the floor.
Preparation
- Set up a simple obstacle course using classroom items, or create your obstacle course outdoors. Space out the objects so that children can easily move around each object and go from one object to the next. Choose a variety of obstacles that will encourage children to use spatial vocabulary (over the blocks, under the table, between the chairs).
- Use colored tape or a “Start” and “Finish” sign near the first and the last obstacle.
- Draw a map of the obstacle course and a route that goes up, around, underneath, and through the obstacles. Include a star for the start and an X for the finish line.
- Attach it to a clipboard.
- Mapping My Day by Julie Dillemuth (Children should already be familiar with the story from an earlier read aloud. If not, set aside a time to read the book to them before doing the activity.)
Directions
- Show children the obstacle course in Mapping My Day, and ask children what they remember about the story. Turn to the page that shows Priscilla’s obstacle course (or agility course) in Flora’s grandma’s backyard. Ask children to describe what you do with an obstacle course. Tell children that they will be trying out an obstacle course too!
- Show children the map of the classroom obstacle course you created. Beginning at the starting point (the star), have children compare the obstacles on the map with the obstacles in the classroom.
- Have children work in pairs. Explain that they will take turns: one child will move through the course while the other looks at the map and gives directions, following the route.
- Ask for a volunteer to demonstrate the course as you use the map to give directions. Use spatial language (e.g., first go under the bench; then over the blocks; next, walk in front of the computer, go in between the two chairs, and walk around the bookshelf, then walk straight ahead to the finish line).
- Then have the pairs take turns moving through the course and using the map to call out directions.
- On another day, make a new obstacle course and a new map. If you tried it inside, you might try it out on the playground.
