Children hunt for treasure outdoors, following a map. X marks the spot!
Children identify landmarks on a map and create a route that leads to treasure.
Materials
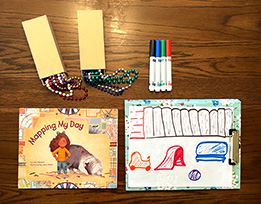
- Mapping My Day by Julie Dillemuth (Children should already be familiar with the story from an earlier read aloud. If not, set aside a time to read the book to them before doing the activity.)
- Clipboards and crayons/markers (one for each group of 3–4 children)
- Treasure maps (draw one and photocopy for groups of 3–4 children)
- Treasure (one per child, such as stickers, pencils, pom poms, etc.)
- Treasure chests (shoe box or gift bag), one for each small group
Preparation
- Preparing the Treasure Map
- Ahead of time (ideally, the day before), walk around the playground or other outdoor area with a clipboard and piece of paper and identify five or six landmarks to draw on the class treasure map. Landmarks might include trees, large boulders, basketball hoop, slide, fence, etc. Draw simple pictures — you will go over what each one represents with your class.
- Decide on a starting place for the class; mark this with a star on your treasure map.
- Redraw your map (if needed) and make enough photocopies for each small group of 3–4 children to have one map.
- Attach maps to clipboards and include a crayon or marker with each. (You’ll want a map and clipboard for yourself, too.)
- On each map, mark an “X” near a landmark where you’ll hide that group’s treasure. Choose a different landmark for each group. For example, you might make the “X” by the slide for one group, an “X” by the big tree for another group, and so on.
- Preparing the Treasure
- For each group, place the “treasures” in the containers.
- On the day of the activity, go outside and hide the treasures at the landmarks that are marked with an “X” on the various maps.
Directions
- While still indoors, read the pages in Mapping My Day about Flora’s top secret treasure map. (Children should already be familiar with the story from an earlier read-aloud.)
- Emphasize Flora’s words: “I needed a map to remember how to find the treasure again.” Point out that her brother couldn’t find the treasure because he didn’t have a map.
- Then turn to the picture of Flora’s treasure map. Explain that Flora’s map includes landmarks from her back yard that help her remember where the treasure is buried.
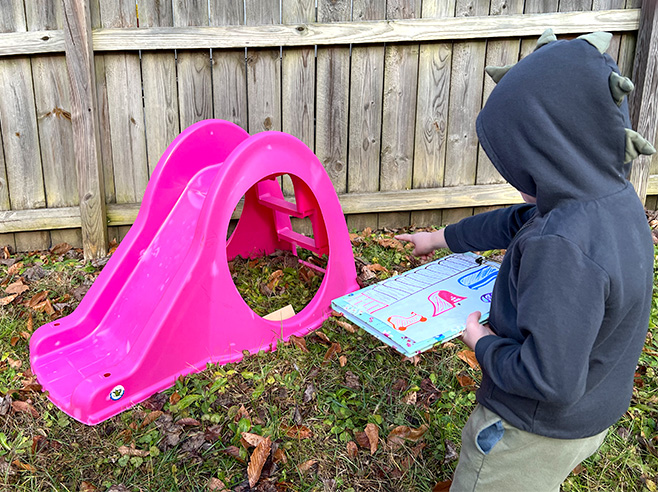
- Tell children it’s their turn to use a treasure map to hunt for treasure! Bring children outside to the starting place on the map.
- Break children into groups of 3 or 4 and give each group a clipboard with a map and a crayon/marker. Keep a clipboard and map for yourself.
- Invite children to match landmarks on their maps with the real landmarks around them. Go over all the landmarks on the map. Point to the star on the map to show your starting location (where you all are now gathered).
- Have children point to the “X” on their maps and ask them what they think the “X” might represent. Tell them that each group has a map that leads to a different treasure. Have each group say what landmark their treasure is near.
- Tell children the rules for the treasure hunt:
- Each group must draw a route to get from where they are (the star) to the treasure (the “X”). Then they will follow their route.
- But each route must first go to two different landmarks before it can go to the “X.”
- Model how to draw a route using your map: start from the star, draw a line to one landmark, then to a second landmark, and then to the “X.” Draw a second route to show children that there are lots of different routes to reach the treasure.
- Have each group draw one route to their treasure. Offer support as needed.
- Time for the treasure hunt! But before they set off with their maps, explain:
- Each group must stop at their landmarks and announce, “First landmark!” or “Second Landmark!” Then you’ll give them the OK to move on.
- Emphasize that groups can only open the treasure that is at the “X” on their map. They can’t touch another group’s treasure.
- When each group reaches their “X,” they can open their treasure!