The class examines and compares different kinds of plants and sprouting seeds from the Class Garden.
In Lesson 3, compare a sprouting bean seed with a different seed from the Class Garden.
Which seeds are the bean seeds? How do you know?
Materials
- Lesson 3:
- Chart paper
- Markers (plant part colors)
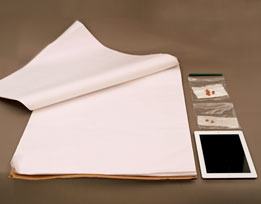
- Sealed plastic sandwich bag with sprouting bean seeds (from a Guided Small Group)
- Sealed plastic sandwich bag with sprouting seeds (from the Class Garden)
- Growing bean plant
- Other plants growing in the Class Garden
- Lesson 4:
- Chart paper
- Marker
- A growing bean plant
- Another kind of plant growing in the Class Garden
- Lessons 7, 8, 12:
- 2 kinds of plants growing in the Class Garden
Preparation
- Lesson 3: Set aside a bag of sprouting bean seeds from one of the Guided Small Groups and a bag of sprouting seeds from the Class Garden to compare.
- Lesson 4: Set aside a growing bean plant from a Guided Small Group and a plant growing in the Class Garden to compare.
- Lessons 7, 8, 12: Set aside two kinds of plants growing in the Class Garden to compare.
Directions: Lesson 3
Circle Time: Introduction
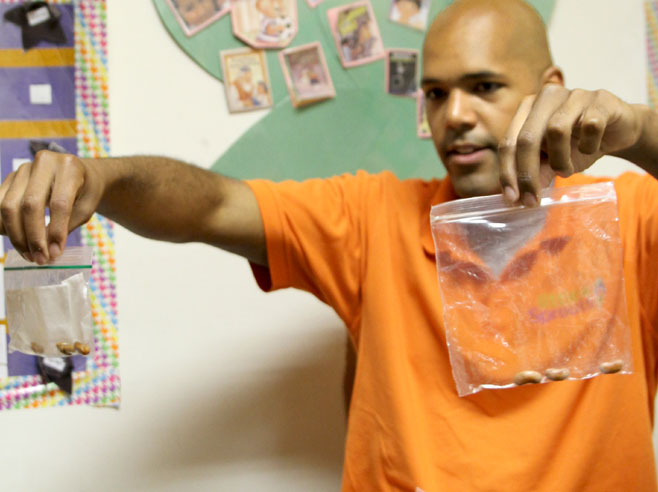
The class examines and compares a sprouting bean seed with a different kind of sprouting seed from the Class Garden.
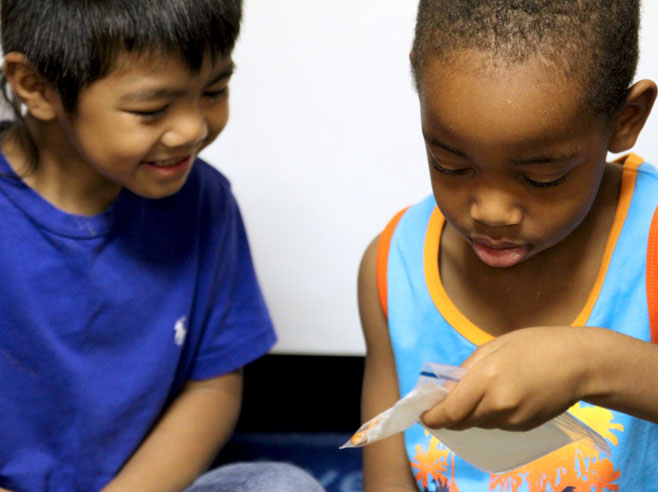
- Show the two types of sprouting seeds, side by side. Pass the bags around and invite children to look more closely. Be careful that sprouts do not get broken.
- Help children identify the seeds. Ask if they know which bag has beans. How do you know? Give the name of the other seed.
- Explain that they will compare the two seeds. That means we will talk about ways the seeds are different and ways they are the same. Invite children to share their ideas. Encourage them to build on their classmates’ ideas.
- Draw a bean seed shape on the chart paper. Have volunteers color the bean and add the sprout. Ask questions to encourage children to observe closely before coloring and drawing. Possible discussion ideas:
- What observations can you share about the seeds? What do you notice about them?
- What color is the seed coat?
- How many sprouts came out of a bean seed?
- Is the sprout curved or straight? Wide or narrow?
- Where are the little root hairs?
- Label the drawing, asking children the words to write and where to write them (for instance, brown seed coat, sprout, root hairs).
- Do a similar shared drawing and labeling of the other type of seed and sprout.
Directions: Lesson 4
Circle Time: Wrap-Up
The class examines and compares a bean plant with a different kind of plant from the Class Garden.
- Introduce the class to the two types of plants you selected, just as you did in Lesson 3 above. This time, focus on the plant parts that are growing.
- Explain that they will compare the two plants. That means we will talk about ways the seeds, stems, and leaves are different and ways they are the same. Invite children to share their ideas. Encourage them to build on their classmates’ ideas.
- Draw a simple picture of the bean plant on chart paper, asking children to guide you each step of the way. Possible discussion ideas:
- Is the stem wide or narrow?
- Is it dark green or light green? Is it straight or curved?
- What part of the plant is at the top of the stem?
- Does the seed have a seed coat?
- Label the drawing, asking children to name the different parts of the plant as you write them down. Where are the roots? You might draw some roots below the soil, even though you cannot see them. Review how each plant part helps the plant grow.
- Follow a similar process as you draw and label a picture of the other plant.
Directions: Lessons 7, 8
Circle Time: Wrap-Up
The class examines and compares two different kinds of plants from the Class Garden.
- Show both plants. Let children hold them gently and pass them around to get a better look. Tell children the name of each plant. Let’s compare these plants. Ask questions such as the following to spark conversation:
- Who would like to share an observation about the (sunflower) plant?
- Who would like to share an observation about the (radish) plant?
- How are a (sunflower) plant and a (radish) plant the same?
- How are they different? Which plant is taller?
- Which has more leaves? Smaller/bigger leaves? Wider (or thinner) leaves?
- Which has wider (or thicker) stems? Narrower (or thinner) stems?
- Do some plants look healthier than others? Do you think all the plants are getting what they need to grow? Why do you think that?
- What do you still want to know about our (sunflower) plants? Our (radish) plants?
- How do you think we could find out the answer?
Directions: Lesson 12
Circle Time: Introduction
The class examines and compares two different plants from the Class Garden.
- Show the plants, side by side. Encourage children to identify the parts of each plant.
- Explain that they will compare the two plants. We will talk about ways the plants are different and ways they are the same. Invite children to share their ideas. Encourage them to build on their classmates’ ideas.
- Draw two Class Garden sprouts on chart paper. Have volunteers color the sprout and add roots, a stem, leaves, and fruits or flowers. Encourage children to observe the class plants closely before coloring the drawing. Possible discussion ideas:
- What observations can you share about the plants?
- How many leaves are on the stem?
- Is the stem curved or straight? Wide or narrow?
- Where are the roots?
- Label the drawing, asking children the words to write and where to write them (for instance, brown seed coat, sprout, root hairs).
- Do a similar shared drawing and labeling of the other type of plant.
