Children draw a plant to add to the Class Garden Mural. They identify parts and describe where each plant part grows—below or above the soil.
Observe seeds and discuss how seeds of the same type will grow into the same kind of plant.
Children select a favorite seed and draw or color a plant that they would like to eat.
Materials
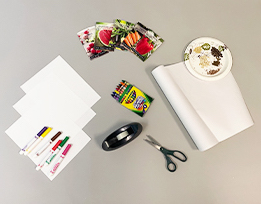
- Chart paper
- Clear tape
- Copy paper
- Markers or crayons
- Seeds (3–5 different types, such as carrot, corn, pea, pumpkin, radish, sunflower, watermelon)
- Plant images (that grow from the seed types you chose to use)
- Paper plate
- Scissors
- Optional: Garden Mural Coloring Sheets (PDF) and Positional Words Chart (PDF)
Preparation
- Gather seed choices. Look for seed packets with plant images (to use on a class chart) at garden or grocery stores.
- Create a three-column chart with three to five rows (depending on how many seed choices you use). Title it “From Seed to Plant.” Tape a few seeds in the first column of each row, a different seed type per row. Tape a corresponding plant picture in the middle column of each row, and write the plant name in the third column.
- Display the chart in the Small Group area.
- Gather the drawing sheets you prepared in the Our Garden Mural activity. Or prepare them now by drawing a soil line across the lower third of a sheet of copy paper (horizontally). Make multiple copies. Cut each sheet down the middle so each 5½″ x 8½″ sheet has a soil line. You can also print out and make copies of the Garden Mural Coloring Sheets PDF for children to color in instead of drawing.
- Children will draw their plants on the half sheets of paper (instead of on the mural itself). This way you will be able to rearrange the “garden” to make space if needed
- Place an assortment of the seed types on a paper plate in the Small Group area.
- Tip: When the mural gets too crowded, “weed out” or “harvest” plants. Talk about how gardeners regularly weed their gardens so plants will have room to grow and get the nutrients they need. Send home the “harvested” drawings.
Directions: Lesson 7
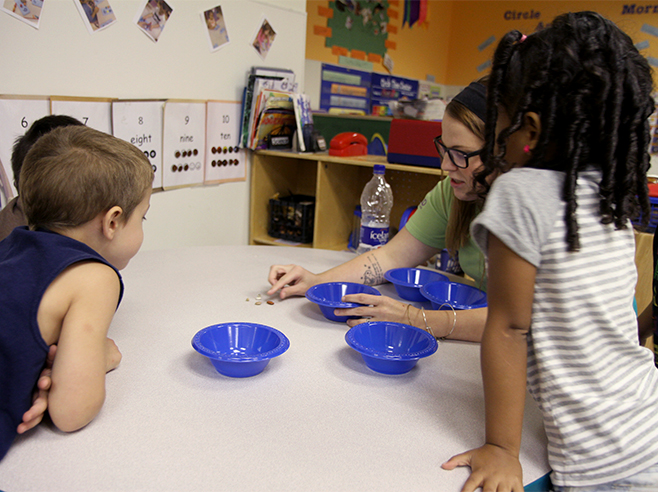
Guided Small Group
- Introduce the From Seed to Plant class chart with children. Ask children to describe what they see in the first column. Then have them describe what they see in the middle column.
- Talk about how the same type of seed will grow into the same type of plant. For example: These (corn) seeds will all grow into (corn) plants.
- Point to the seeds in another row. What will these seeds grow into? Then read the plant name in the third column together.
- Make real-world connections with children. Ask if they have ever eaten (corn) before.
- Do you know what part of the plant you were eating? Do you think that part of the plant grows above or below the ground?
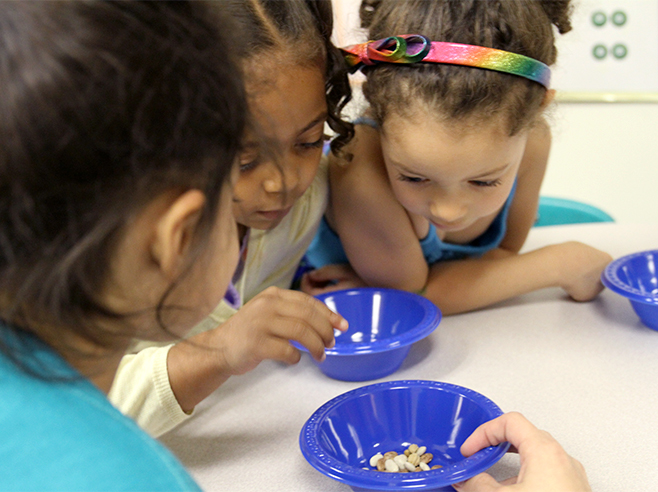
- Have each child choose which of the plants in the chart they would like to eat in vegetable soup or a salad. Have them match the seed from the chart to one of the seeds on the paper plate.
- Distribute the drawing (or coloring) sheets and have them “plant” (tape) their seed. Where will you “plant” your seed?
- Then have children draw (or color in) a picture of their plant. Encourage them to use the plant drawn on the Class Garden Mural to help them recall where each plant part grows. As children work, encourage them to engage in a discussion. Possible discussion ideas:
- What are the little squiggly lines you drew coming out of the seed?
- Do roots grow below or above the ground? How do roots help the plant grow?
- What plant parts grow above the ground?
- What does a stem do to help the plant grow?
- What parts of the plant can you eat? What is your favorite plant part to eat? Why?
- When children have finished, help them align their drawings with the soil line on the Class Garden Mural and tape their drawings in place. Wow! Look how quickly our colorful garden is growing!
Circle Time: Wrap-Up
- Revisit the beautiful Class Garden Mural and together discuss the plants growing in it.
- Invite children to describe their plants. Possible discussion ideas:
- Where did you “plant” the seed? What other parts are growing under the ground?
- What are these lines growing out of your seed under the ground? How do roots help the plant grow?
- What plant parts are growing above the ground?
- Have you ever eaten this type of plant? What did it taste like? Does anyone else have something to add to (child’s name)’s description?
- Let’s count! Have children count the number of seeds they “planted” under the ground. Possible discussion ideas:
- How many plants are growing above the ground? Under the ground?
- How many children chose (corn) as their favorite vegetable? Did more children draw (carrot) or (corn) plants?
- Take a few minutes to admire the beautiful garden mural together!
Directions: Lesson 8
Learning Center
- Invite children to create more plants for the garden mural. Observe how children approach drawing their plant, and use prompts such as those above to engage children in a discussion about plant parts and how plants grow.
- Encourage children to draw their plant parts in the order they appear in the plant’s growth cycle. Possible discussion ideas:
- Where do you plant a seed? What other parts of the plant are under the ground?
- What plant part do you see first above the ground? Invite children to describe the parts of the plants as they are drawn.
- Have children “plant” it in (tape it on) the garden mural.
