Children identify and describe parts of the sprouting bean seeds and plants. They draw a picture of the seed and/or plant, add labels, and talk about the function of some of these parts.
Who would like to share an observation about our bean plants?
What do you think the stem does?
Materials

- Group’s bean seeds planted in soil
- Crayons, colored pencils, or markers
- From Seed to Plant (PDF)
- Paper (for printing and/or drawing)
- Tape
- Optional: Clear, easy-peel sticker labels (Avery® 5630)
Preparation
- Print a copy for each child of page 1 of the From Seed to Plant drawing sheet. This activity can also be done using plain paper.
- Optional: Print several sheets of the Plant Part Sticker Labels (page 2 of the same PDF) on clear, easy-peel sticker labels or use small strips of regular copy paper to write and/or draw plant part names.
Directions: Lesson 8
Guided Small Group
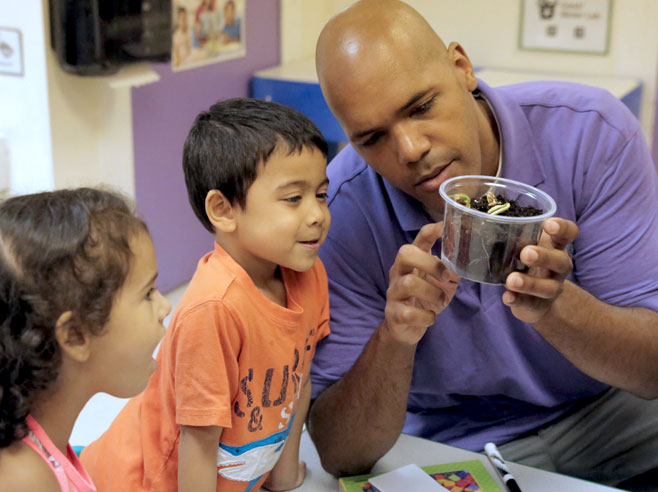
- Look at the bean plants in soil. Engage children in a discussion about their plants. Possible discussion ideas:
- What’s new with our bean plants? Who would like to share an observation about our bean plants?
- Point to a seed above the ground. Is it still wearing its seed coat? Have other beans shed their seed coats?
- How many bean plants have popped out from under the ground? Do you think any more will come out?
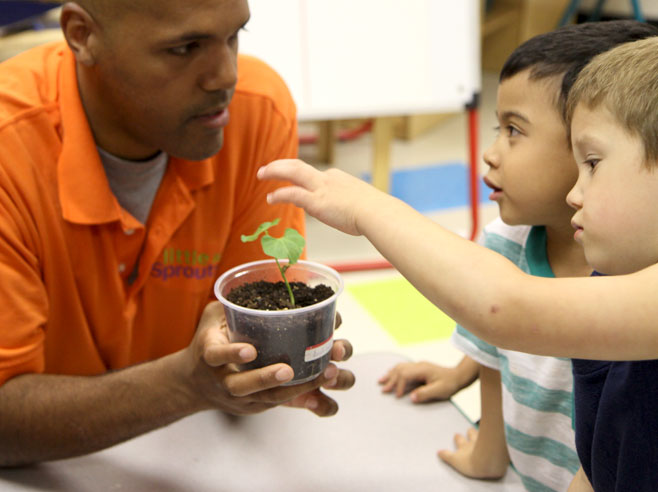
- Which bean plants have grown leaves? Which plant has the biggest leaves? The most leaves?
- Where are the roots of the bean plant? Can you see any through the sides of the container?
- What do you think the roots do? (They suck up water and food from the soil and keep the plant firmly in the soil.)
- Point to the stem of the plant. What do you think the stem does? (Leaves are attached to the stem. The stem stands up straight and grows tall so the leaves can reach into the sunlight.)
- After you discuss children’s observations, have them record what they see by drawing a picture of their plant. Draw the parts of the plant you can see! Have children name the different plant parts and help them find and attach the labels next to each part. Review how each plant part helps the plant grow.
Directions: Lesson 9
Guided Small Group
- Invite children to observe the bean plants in the soil. Possible discussion ideas:
- What different parts of the plant can you name? Where are the roots?
- How would you describe the stem? How many leaves do you see?
- If we let this bean plant grow long enough, what part could we eat?
- Do you notice anything that is different about the plants from the last time we looked?
- Have children choose a bean plant or a plant from the Class Garden as their favorite.
- Ask each child to tell you about the plant she or he has chosen. What do they notice about it? What makes it special?
- Take a photo of each child with his/her favorite plant.
- Later, print these photos so that they can be inserted into the picture frames children decorated with seeds in the Seed Art Frames activity.
